APPENDIX B
Charles Forbes’ Postwar Paintings
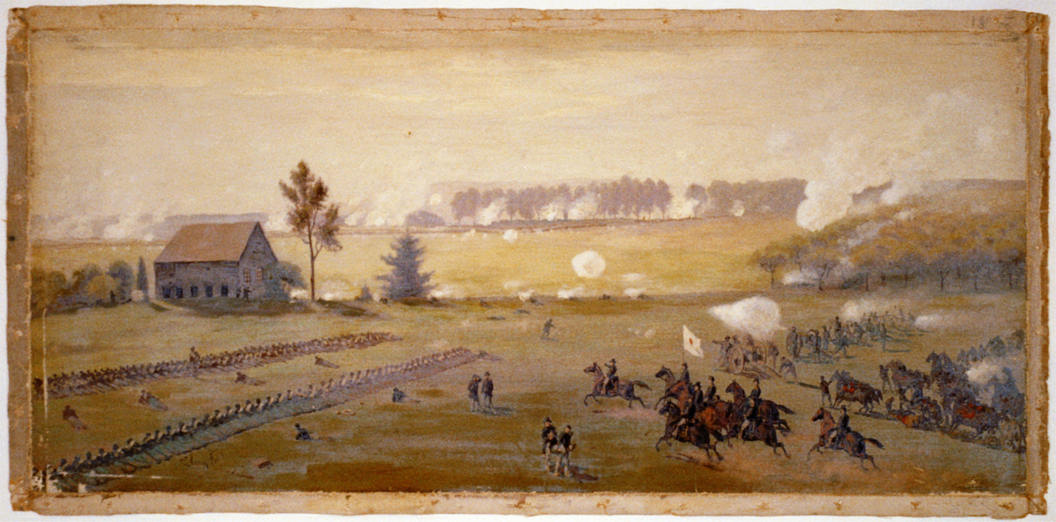
The Battle of Gettysburg — Forbes painting, as with the sketch it’s developed from, depicts several iconic elements from the second day of fighting most notably The Trostle Barn, The Wheatfield, The Stoney Hill, and The Peach Orchard, but the spatial relationship between them is terribly askew, and The Wheatfield Road has entirely disappeared.
There were no supporting infantry for the batteries that were posted at this salient in the 3rd Corp line which is why they were forced to evacuate these positions most unceremoniously and at considerable loss of men, horses, and material.
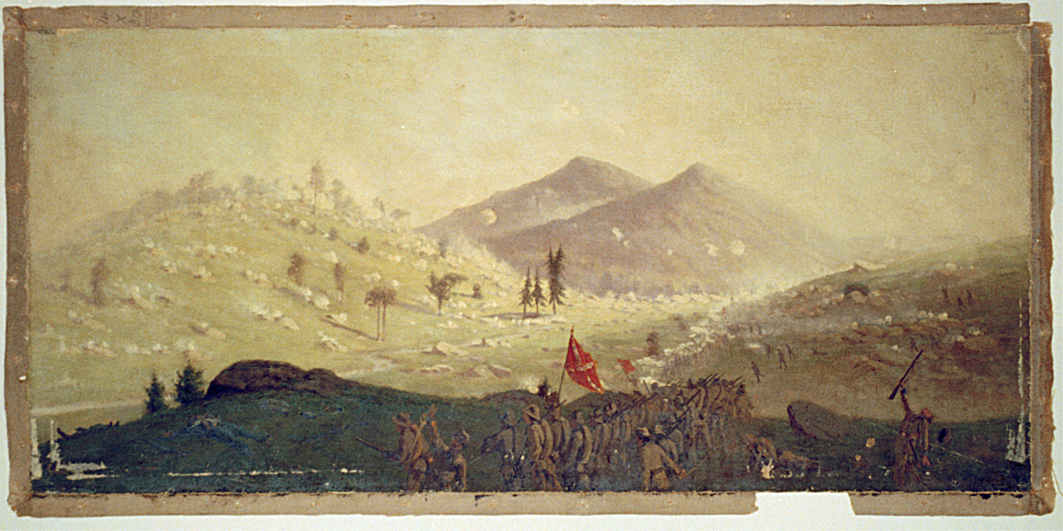
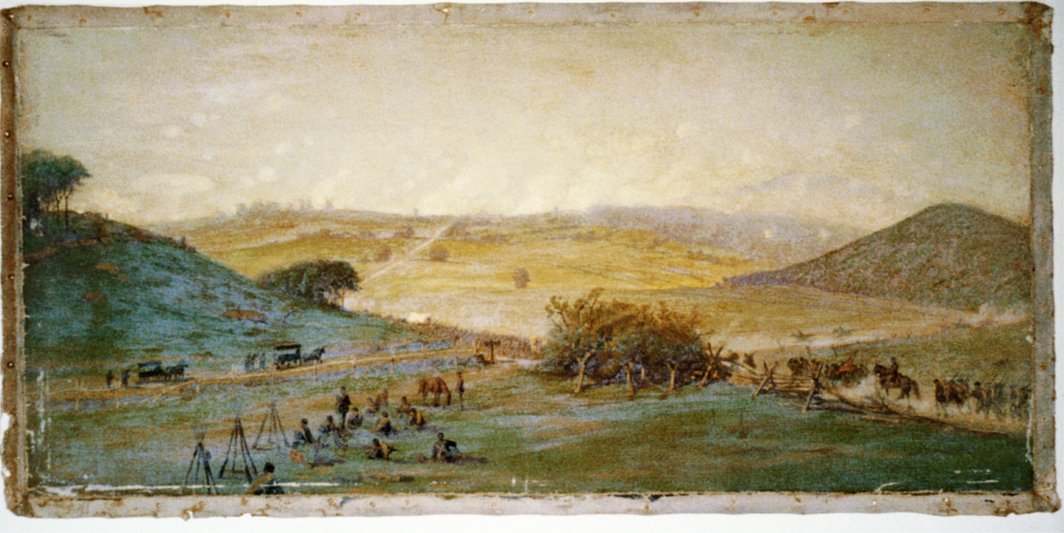
Attack on Little Round Top held by the 5th Corps commanded by General Sykes — Based on a drawing Forbes produced while at Gettysburg, this painting contains significant flaws. The Confederate troops advancing in the foreground could not have assaulted from these positions as this ground was held by Union forces until well after the battle for Little Round Top subsided. In addition, there appears a mysterious second peak behind Big Round Top. In his original sketch, Big Round Top has a protruding shoulder. It’s possible this metamorphosed into a second peak years later.
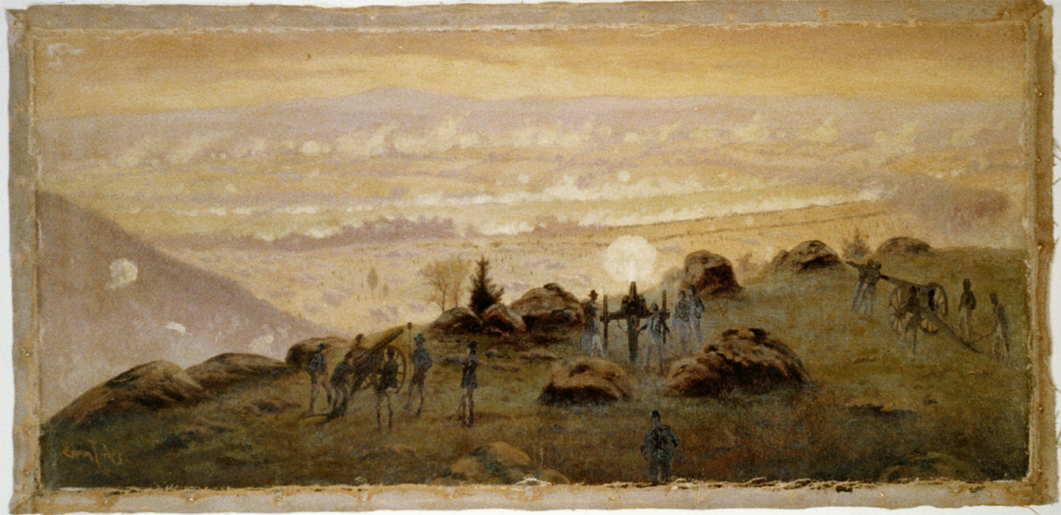
View from the summit of Little Round Top at 7:30 P.M. July 3rd, 1863 — The extended line of gunsmoke on the far horizon is probably meant to indicate Rebel batteries firing in support of the assault by Longstreet’s and Hill’s Corps on the afternoon of July 3rd. However, the Confederate artillery had participated in a lengthy pre-assault cannonade that had significantly depleted their ammunition stores. As a consequence, they’d been ordered to conserve their remaining shot to fire against a Union counterattack should one occur. Clearly, they would not have been blasting away as Forbes has shown. The center line of smoke, presumably from Rebel infantry, is another mistake, as the lead troops had been ordered to close to a much shorter range before opening fire on a Union line partially protected by a low stone wall. In addition, Pickett’s Charge had been repulsed by late afternoon.
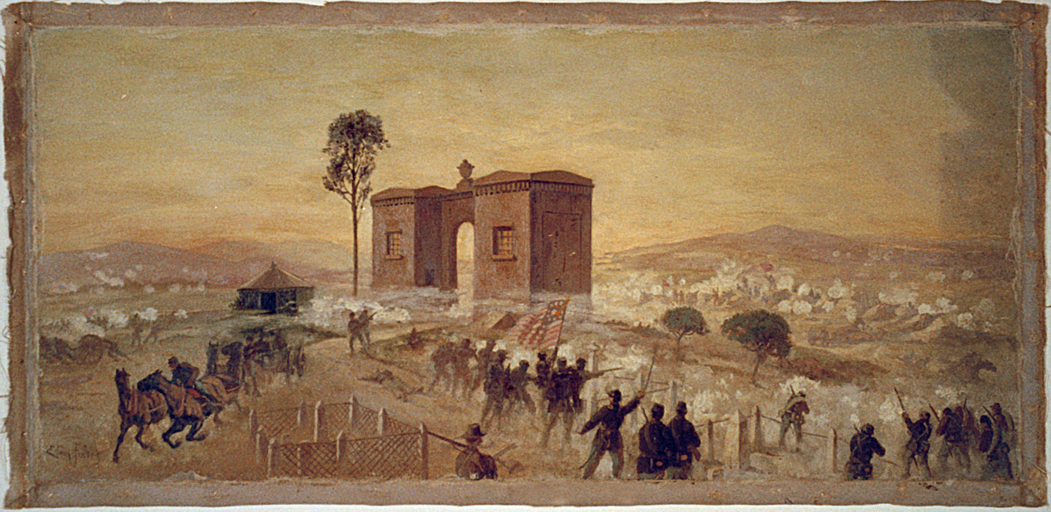
Charge of Ewell’s Corps on the Cemetery Gate and capture of Rickett’s Battery — Forbes wisely abandoned the aerial POV he employed in the wartime sketch when composing this scene showing the fighting near the Evergreen Gatehouse on the evening of July 2nd, and he’s added a great deal of action as well. It’s unclear who the Union infantry in the immediate foreground would have been firing at, as there were only other Union troops between themselves and their own artillery.
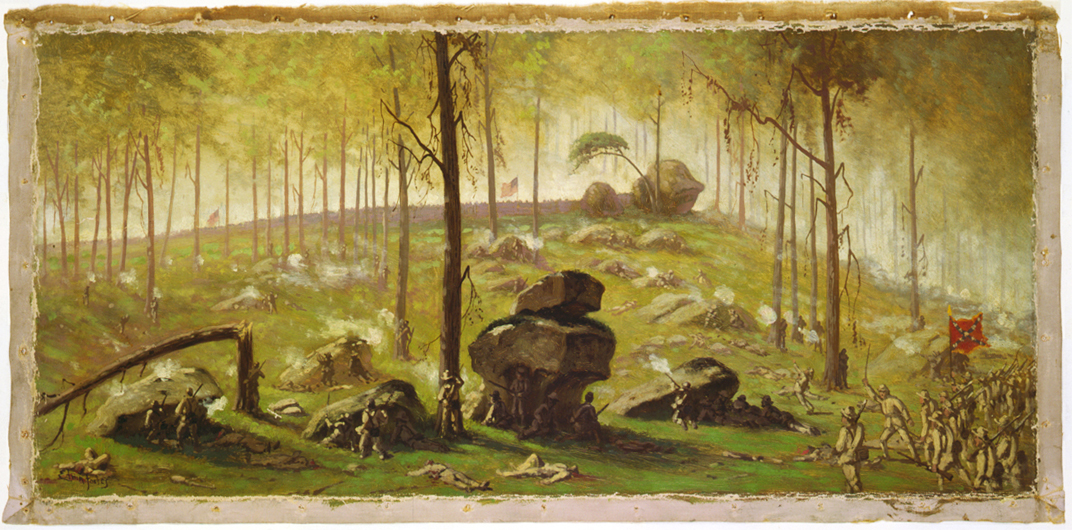
Attack of Johnston’s Div.,C.S.A. on the breastworks on Culps Hill defended by Wadsworth’s Div., 1st Corps, and a part of the 12th Corps [under] General Slocum, half past seven P.M., July 2nd —The addition of a line of battle in the lower right corner of this composition produces a significantly greater degree of drama in Forbes’ painting than was contained in his initial sketch. Gone is the questionable sharpshooter, replaced by a line of Rebel infantry doomed to the same fate as those who have previously attempted the ascent seen firing from behind sheltering boulders after being shot to pieces.
General view of the Union lines on the morning of July 3rd, 10 AM, during the attack of Johnston’s Div., C.S.A. — The minimal visual detail Forbes managed to include in his original two panel drawing is almost entirely absent in this scaled down painted version of the same scene. The battle transpiring on the ridge in the distance lacking the “call outs” of the original has completely disappeared in the gauzy sky. The most significant element of this banal composition is the clump of trees at its center.
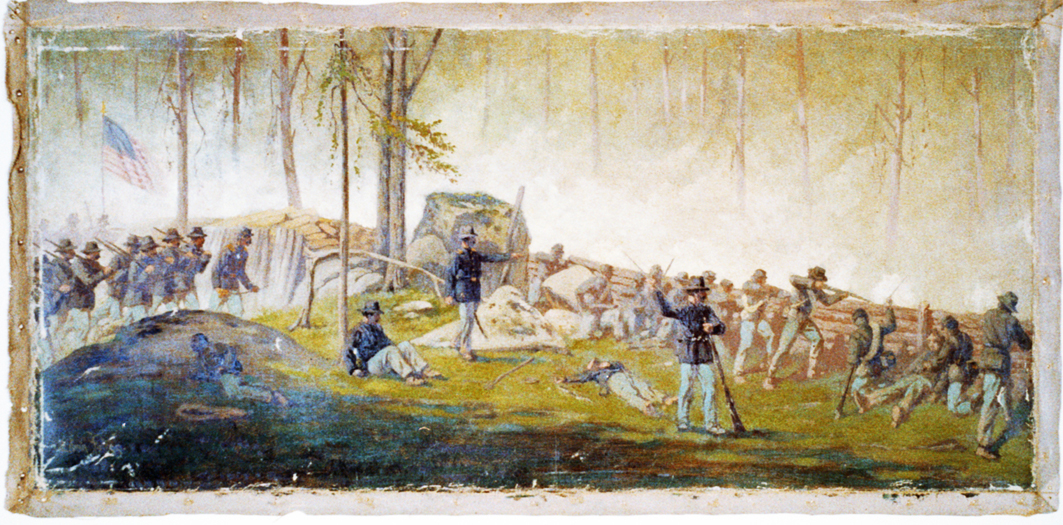
Scene behind the breastworks on Culp’s Hill, morning of July 3rd, 1863 — In his portrayal of the defense of Culp’s Hill, Forbes failed to show the “head log” construction thrown up by Union defenders prior to the Rebel assault. As shown in Forbes painting, the defenders would have made obvious targets as they leaned over the barricade to fire at ascending Rebel infantry. In reality, the Union defenders were protected by a log set several inches above the stack of logs forming the barricade. This elevated “headlog” afforded considerably more protection to an infantryman as it allowed them to fire through the gap between logs without exposing their upper body to fire.
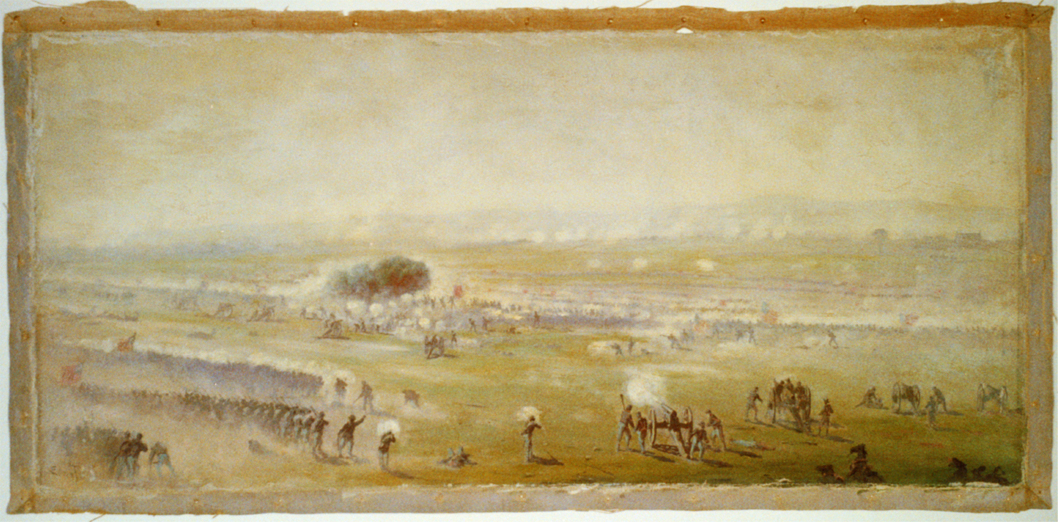
Pickett’s charge on the Union centre at the grove of trees about 3 PM — Taken together these two paintings form “opposite sides of the same coin”. One is from far behind the Union line at the climax of “Pickett’s Charge.” The other (on next page) from a similar distance behind the Confederate lines at the same point in time.
The only distinguishing feature of the painting from behind Union lines is the “Clump of Trees.” Everything else, except the artillery in the immediate foreground, dissolves into a warm haze.
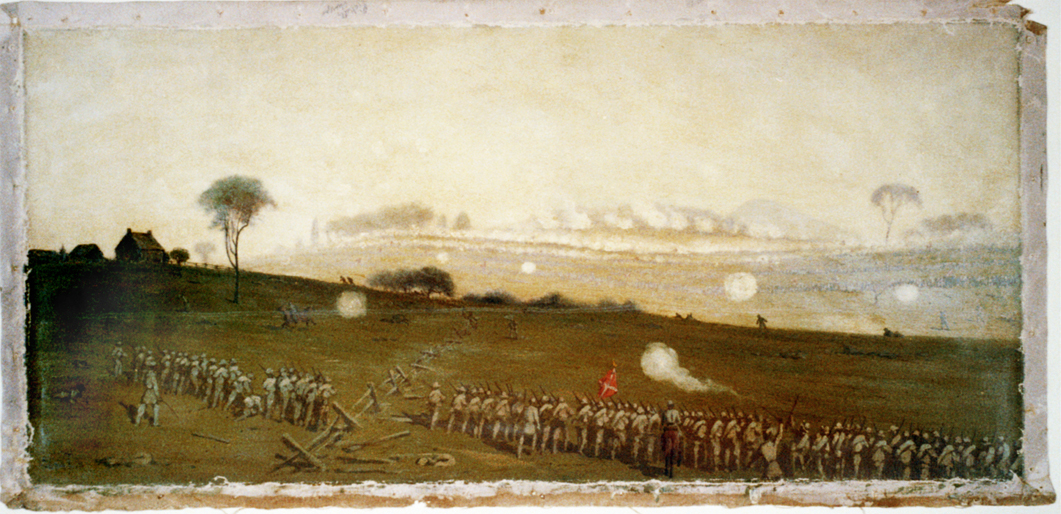
Similarly, in the painting from behind advancing Confederate infantry, it’s obvious they have no chance of participating in the attack as they are too far away to provide any support to their compatriots fighting at “The Clump of Trees” seen through the haze at the far right of the composition.
Pickett’s charge from a position on the enemy’s line looking toward the Union lines, Ziegler’s grove on the left, clump of trees on right.
(All painting titles are those given by Edwin Forbes.)
